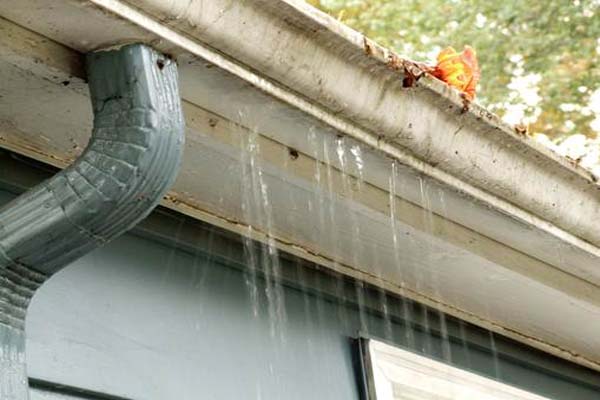
If you do have a damaged gutter seam, and you would rather try and fix it yourself, follow the steps below.
Step 1) Make sure you have all the right tools. – Start by making sure you have the correct sized ladder. PLEASE, DO NOT GO ANY FURTHER, if you little experience with ladders, or if you have any uncertainty at all about how tall a ladder needs to be, how it should be set up, or how to work off a ladder. PLEASE, while ladders are a very useful tool, they cause many disastrous accidents to both average homeowners and distracted professionals alike.
Step 2) Identify the leaking seam. – The best time to check is when it’s raining, if water is leaking from underneath the gutter, that is where more than likely the damaged seam will be located. Another sign of damaged seams is a buildup of grime and debris. Usually water should freely run over the seam, so a buildup of grime is another sign of damage.
Step 3) Disconnect and clean the seams. – You need to disconnect the section of gutter which is damaged, clean around the area to remove and dirt and debris, also scrape away any excess caulking, to leave you with a dirt free area.
Step 4) Reconnect and seal the seams. – Reconnect the two sections of gutter back together, you then need to reseal the joint. You will need a gutter sealant. Run the caulking along the joint, making sure to cover the whole joint. You then need to use a wet finger, or a piece of cardboard to run over the caulk, to create a smooth surface. Then reconnect, press, and hold the seam together until the sealer sets.
Contact h2oTEKS for assistance with gutter cleaning services!
